Ciao a tutti , eccomi qui per questa meravigliosa opportunità, per tutto il mese di Febbraio sarò l’ospite del Design Team per il Monday Challenge di Simon Say Stamp, e realizzerò un progetto con il relativo tutorial per aiutarvi a realizzarlo.
Hi, and welcome to the first of four special posts and projects I am sharing this February as their Spotlight Guest Designer four projects throughout the month linked to their Monday Challenges.
FLORAL FRANZY
Il tema della sfida di questa settimana è “Frenesia Floreale” e se parteciperete con il vostro progetto potrete vincere un buono a estrazione da 50$ da spendere sul favoloso store di SIMON SAYS STAMP! Potete aggiungere fino a 5 progetti per settimana!
Is this week’s challenge theme and by playing along you get the chance to win their FABULOUS $50 voucher to shop at the Simon Says Stamp Store! All you have to do is take out your crafty supplies, make something following this week’s prompt, and add a link in the Inlinkz at the bottom of this post! You can join 5 times so you could have 5 chances to win! How AWESOME is that!! All winners are chosen randomly, so everyone has an equal chance to win! Woo Hoo!! Good Luck to everyone! The Design Team is looking forward to seeing your transportation makes and will pop around to visit you ASAP!
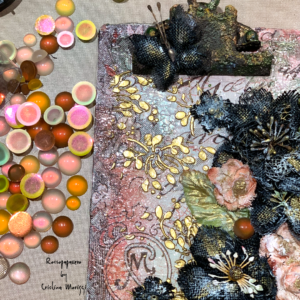
Eccovi allora il mio progetto, un biglietto di auguri speciale per un’amica a cui tengo molto.
Ho incominciato con una leggera mano di Heavy Gesso Art Basic della linea di Finnabair, poi ho incollato con la Soft Gloss Gel Art Basic e un pennello sulla cartellina della Decorative Paper di Finnabair con delle magnifiche farfalle.
I started with a light coat of Heavy Gesso Art Basic from the Finnabair line, then I glue with the Soft Gloss Gel Art Basic and a brush on the folder of the Finnabair decorative paper with magnificent butterflies.

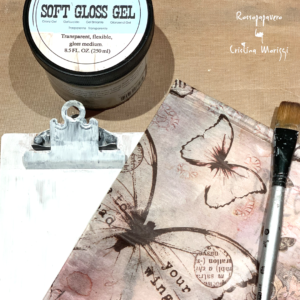
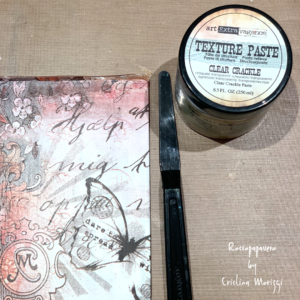
Nel passaggio successivo ho steso la Texture Paste Clear Cracklè Art Extravagance di Finnabair ma va benissimo anche la Distress Cracklè paint della Ranger
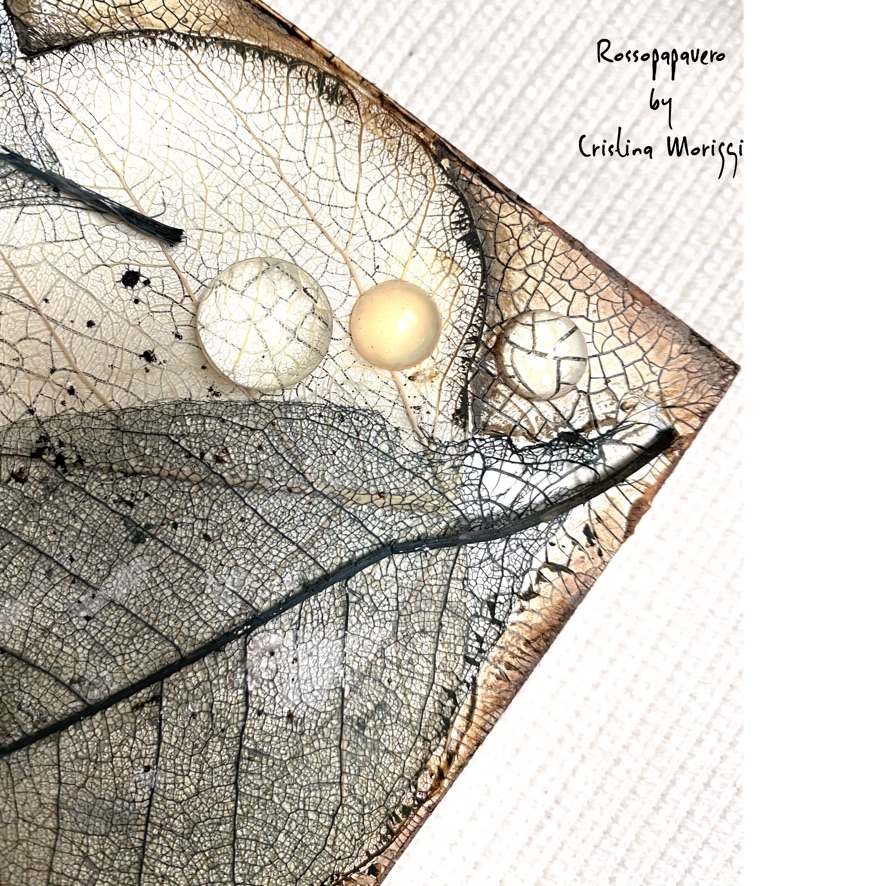
Come potete vedere nella seconda foto, una volta ben asciutta la pasta, si creano delle piccole spaccature che regalano un effetto vintage.
In the next step I applied Finnabair’s Texture Paste Clear Cracklè Art Extravagance but Ranger’s Distress Cracklè paint is also fine
As you can see in the second photo, once the pasta is dry, small cracks are created that give a vintage effect.

Per arricchire il mio background ho voluto creare un pò di luminosità usando uno Stencil Wild Berries di Prima Marketing con la Icing Paste Vintage Gold della serie di prodotti di Finnabair, una pasta colorata a base acrilica dalla veloce asciugatura.
Da Provare assolutamente anche in altre colorazioni.


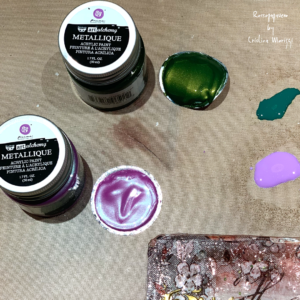
Mentre ho aspettato che lo stencil si asciugasse, ho creato l’effetto arrugginito alla molla della cartellina con la Rust Paste Brown Brass e Yellow di Prima Marketing , poi per evidenziare le spaccature sul background ho utilizzato dei Metallique Acrylic Paint di Finnabair in due varianti colore, diluiti con un pò di acqua, e con un pennellino ho passato i colori direttamente nelle crepe lasciando così che il colore penetrasse e creasse l’effetto desiderato.
While I waited for the stencil to dry, I created the rusty effect of the folder with Prima Marketing’s Rust Paste Brown Brass and Yellow, then to highlight the cracks in the background I used Finnabair’s Metallique Acrylic Paint in two color variations , diluted with a little water, and with a brush I passed the colors directly into the cracks leaving the color to penetrate and create the desired effect.

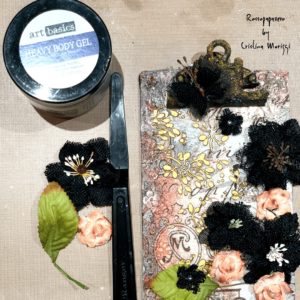
Infine ho incollato tutti i miei fiori di stoffa con una super colla la Heavy Body Gel della Prima Marketing e una volta asciutti li ho passati prima con una leggera texture di Gesso bianco per schiarire e poi con i colori Acrylic Spark sempre della Finnabair nei colori Dragon’s Eyes e Butterfly’s Spells.
Finally I glued all my fabric flowers with the Super Marketing Heavy Body Gel with a super glue and once dry I passed them first with a light texture of white chalk to lighten and then with the Acrylic Spark colors always from Finnabair in Dragon’s colors Eyes and Butterfly’s Spells.

Ultimo passaggio ho incollato anche delle perle colorate per rendere più luminoso e prezioso il mio biglietto di auguri, loro fanno parte della collezione di Art Ingredients art Pebbles Vintage della Prima Marketing, sono bellissime e coloratissime non potevamo mancare sul mio progetto.
Last step I also glued colored pearls to make my greeting card brighter and more precious, they are part of the collection of Art Ingredients art Pebbles Vintage of Prima Marketing, they are beautiful and colorful we could not miss on my project
Bene per oggi e’ tutto, spero possa esservi di ispirazione per i vostri lavori, non vi rimane che andare a sbirciare anche i lavori di tutti i membri del Design Team per scoprire altri preziosi suggerimenti e prodotti che possono servirvi.
Vi lascio qui di seguito la galleria delle foto di tutti i particolari del mio progetto per vedere meglio come è una volta ultimato.
Vi aspetto il prossimo Lunedì con una nuova sfida a tema!!!
I leave below the photo gallery of all the details of my project to better see how it is once completed.
Stay Tuned and enjoy!!!
Check out the fabulous makes of the design team, get inspired and have fun playing along!
CRISTINA



 .
. 


